Instances
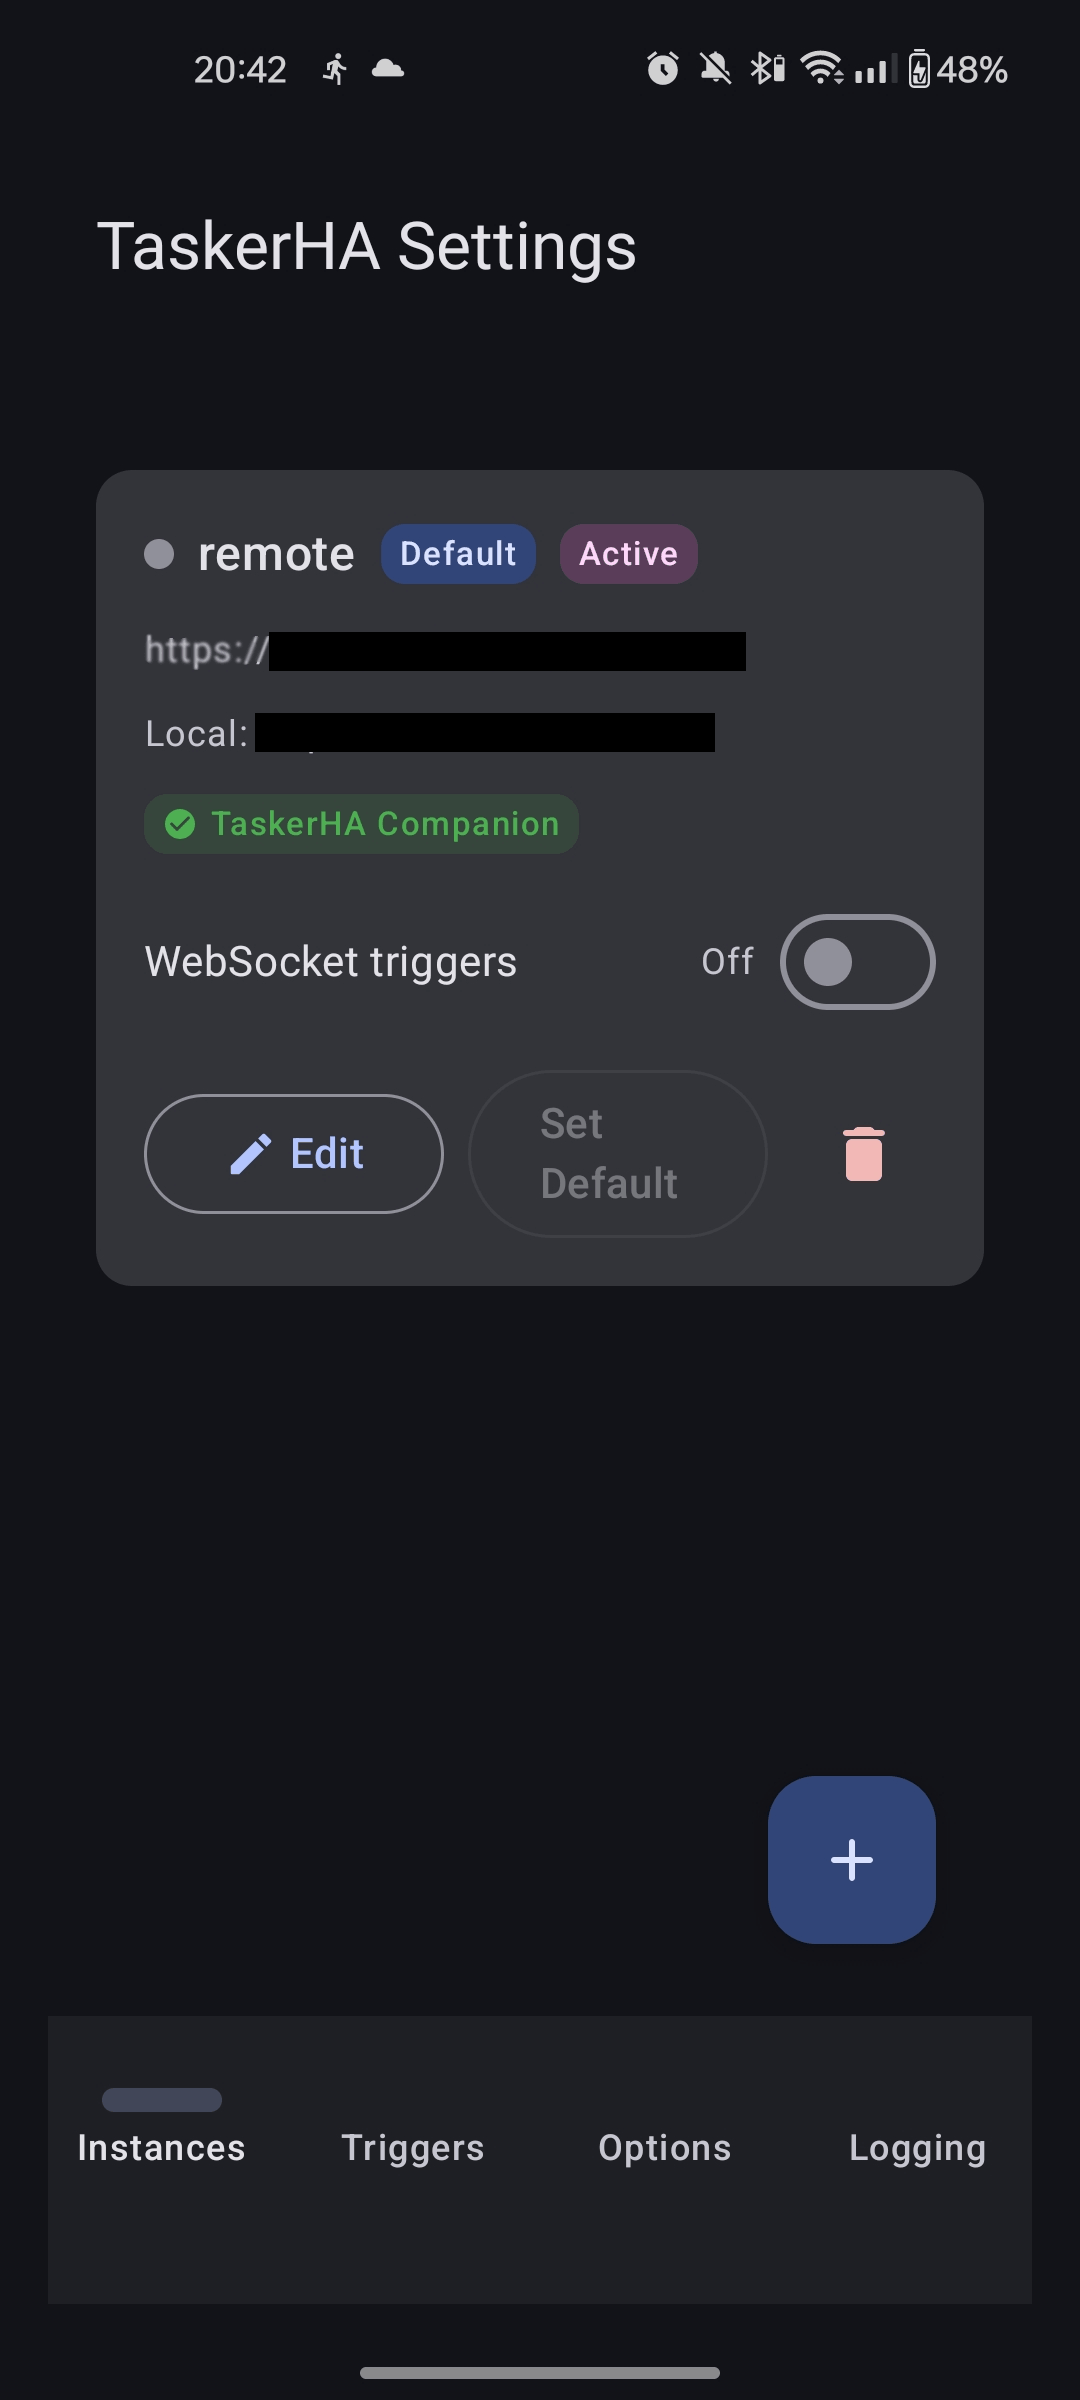
TaskerHA supports multiple Home Assistant instances. Each action and profile in Tasker is bound to the instance you choose when configuring it, so you can have tasks targeting different servers side by side.
Adding an instance
- Open the TaskerHA app.
- Tap Add instance and give it a recognisable name.
- Enter the URL and access token for that Home Assistant server.
- Tap Test, then Save.
Repeat for any additional instances.
URL format
- Include the scheme and port where needed:
http://192.168.1.xxx:8123 - For remote access via a reverse proxy, no port is usually needed:
https://ha.yourdomain.com - Do not add a trailing slash.
Actions vs. profiles
| Actions (Call Service, Get State, Send Message) | Profiles (State Change, Direct Message) | |
|---|---|---|
| Requires active connection | No — each call opens its own connection | Yes — depends on the WebSocket |
| Works on all instances | Yes | Only on the instance with an active WebSocket |
This means you can freely call services or read states on any instance at any time. Profiles are limited to whichever instance currently holds the active WebSocket connection. See the WebSocket page for details.
Automatic URL switching
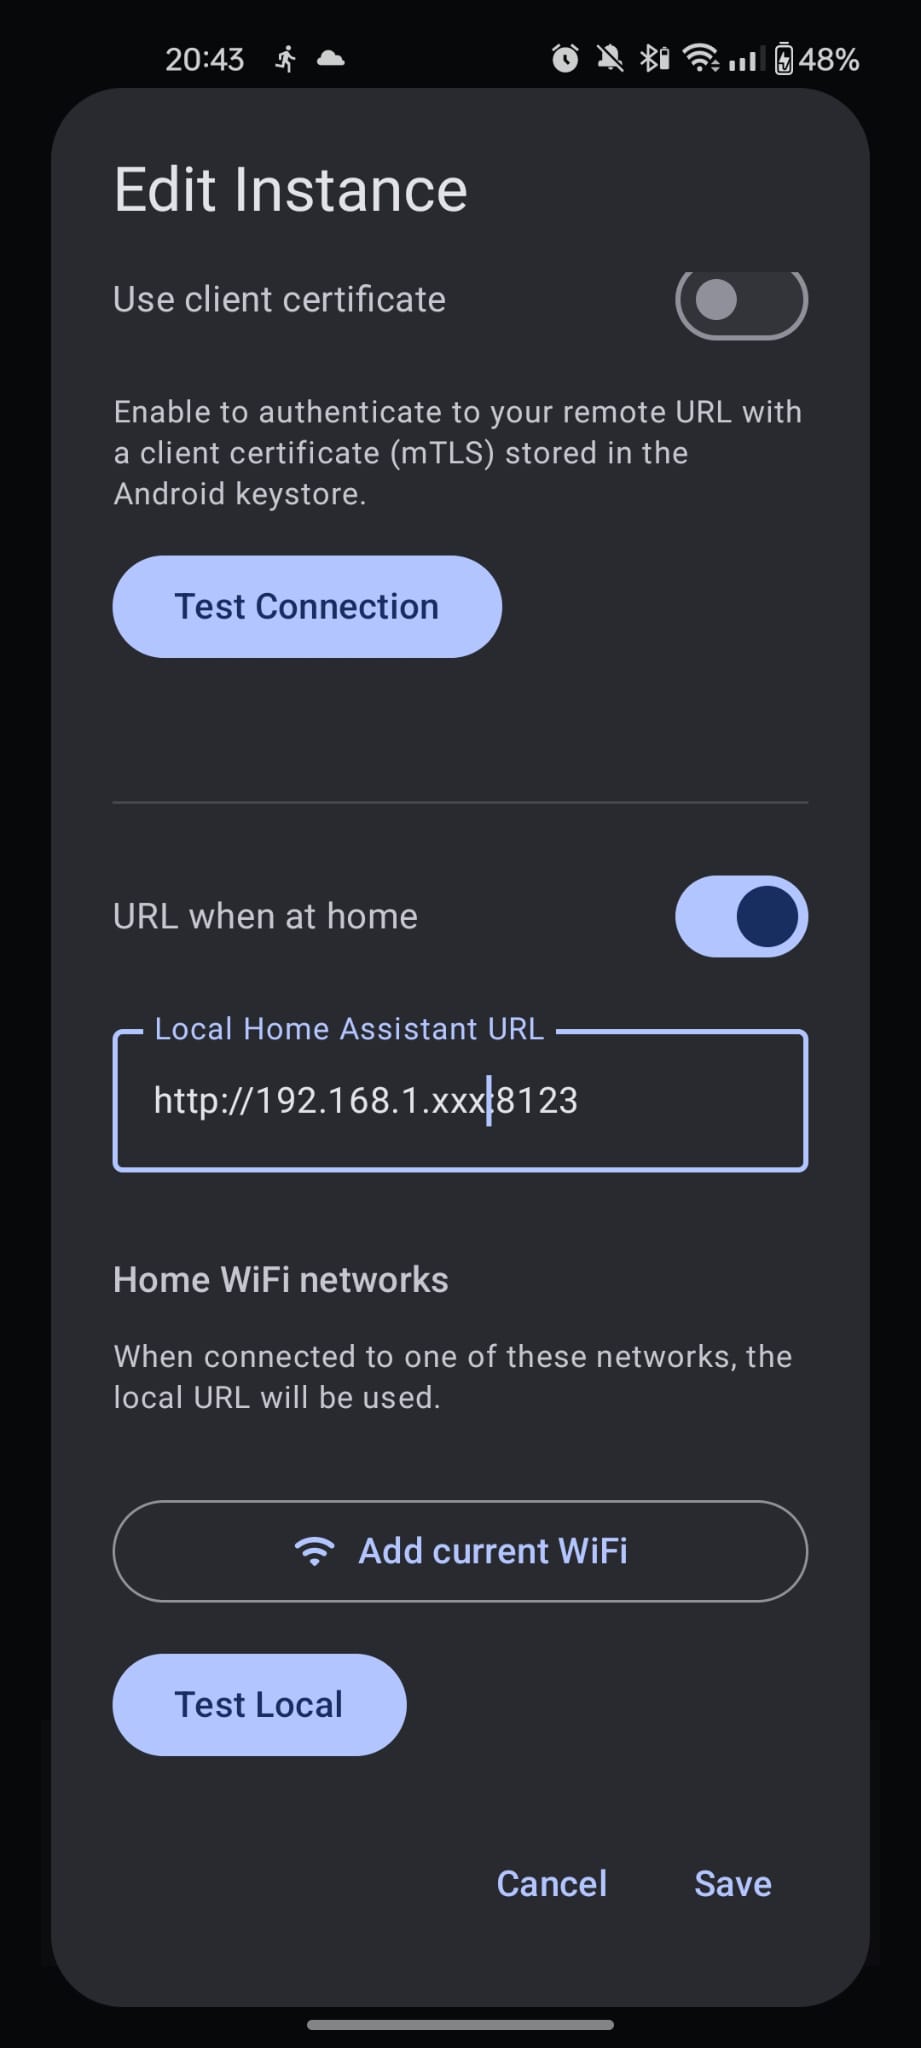
Each instance can be configured with both a local URL and a remote URL. TaskerHA automatically picks the right one based on your phone's current Wi-Fi network.
- In the instance settings, enable URL switching.
- Enter the local URL (e.g.
http://192.168.1.xxx:8123). - Enter the Wi-Fi SSID(s) of your home network.
- Enter the remote URL (e.g.
https://ha.yourdomain.com) as the fallback.
When your phone connects to a matching SSID, the local URL is used. On any other network (or mobile data), the remote URL is used automatically. No separate tasks or profiles needed for home vs. away.
Location permissions are required for getting the currently connected Wi-Fi SSID. If you prefer you can revoke the permission after setting up the URL switching
Images